Sampler Quilt
Block 1: Rail Fence.
This is a great block to start the sampler with and your patchwork journey if you are a beginner. The skills you will learn thru this block are the cutting of fabric with a rotary cutter and ruler, sewing ¼ inch seams, matching up a seam and sewing 3 rows of fabric together.
To support the instructions l have included photos. But do remember any question you may want to ask please go to the Koala Quilt N Sew yahoo group. There you will meet other Block Of The Month participants and l will be visiting regularly http://groups.yahoo.com/group/koalaquiltnsew/
Step 1. By now many of you will have gathered your fabric, here are photos of my fabric choices. The floral fabric in the first photo is my main fabric with the next photo showing the support fabrics and the final photo is of my plain background fabric.
Step 2. This involves cutting your fabric so the equipment needed is the cutting board, rotary cutter and Perspex ruler. Choose the 3 fabrics you wish to work with for this block, iron and fold into 4 lengthwise. Place the fabric onto the cutting board, lining up the fold of the fabric with one of the horizontal gridlines on the cutting board. Place the perspex ruler towards the edge of the fabric, again lining one of the horizontal lines on the ruler with the fold of the fabric. At this point using the rotary cutter and cutting away from you trim off the uneven fabric edge (photo 3 and photo 4)


Now to cut your strip of fabric turn the cutting board around, so that the trimmed edge is facing your left side. Refer to the following photo. Now place your ruler 2 1/2 inches in from the edge of the fabric. With the fingers of your left hand hold the ruler in place (ENSURE YOUR FINGERS ARE WELL AWAY FROM THE EDGE OF THE RULER) and holding the rotary cutter in your right hand and at a 45 degree angle run the flatter side of the cutting blade along the side of the ruler travelling away from you. This results in the fabric being cut. Always close your blade once finished cutting due to the sharpness of the blade.
Cut another two strips of the same measurement, one each from the other two fabrics.
If you are left handed cut the opposite way around.
Step 3. This step involves sewing the 3 strips of fabric together. As in many patchwork designs the seams for this block are ¼ inch, straight stitch and with cotton thread. When sewing strips together sew down one way and then back up the other way. If all strips are sewn together in the same direction an arch will form thus creating an impossible piece to use. The piece needs to be ironed at this stage, as in many patchwork pieces iron the seams together and in one direction. If you have a strip of light coloured fabric always iron the seams towards the darker coloured fabric.
Step 4. Place the ironed strip on your cutting board and with your ruler trim off one end. Then measure in 6 1/2 inches with your Perspex ruler and cut with the rotary cutter. We need 4 of these blocks.
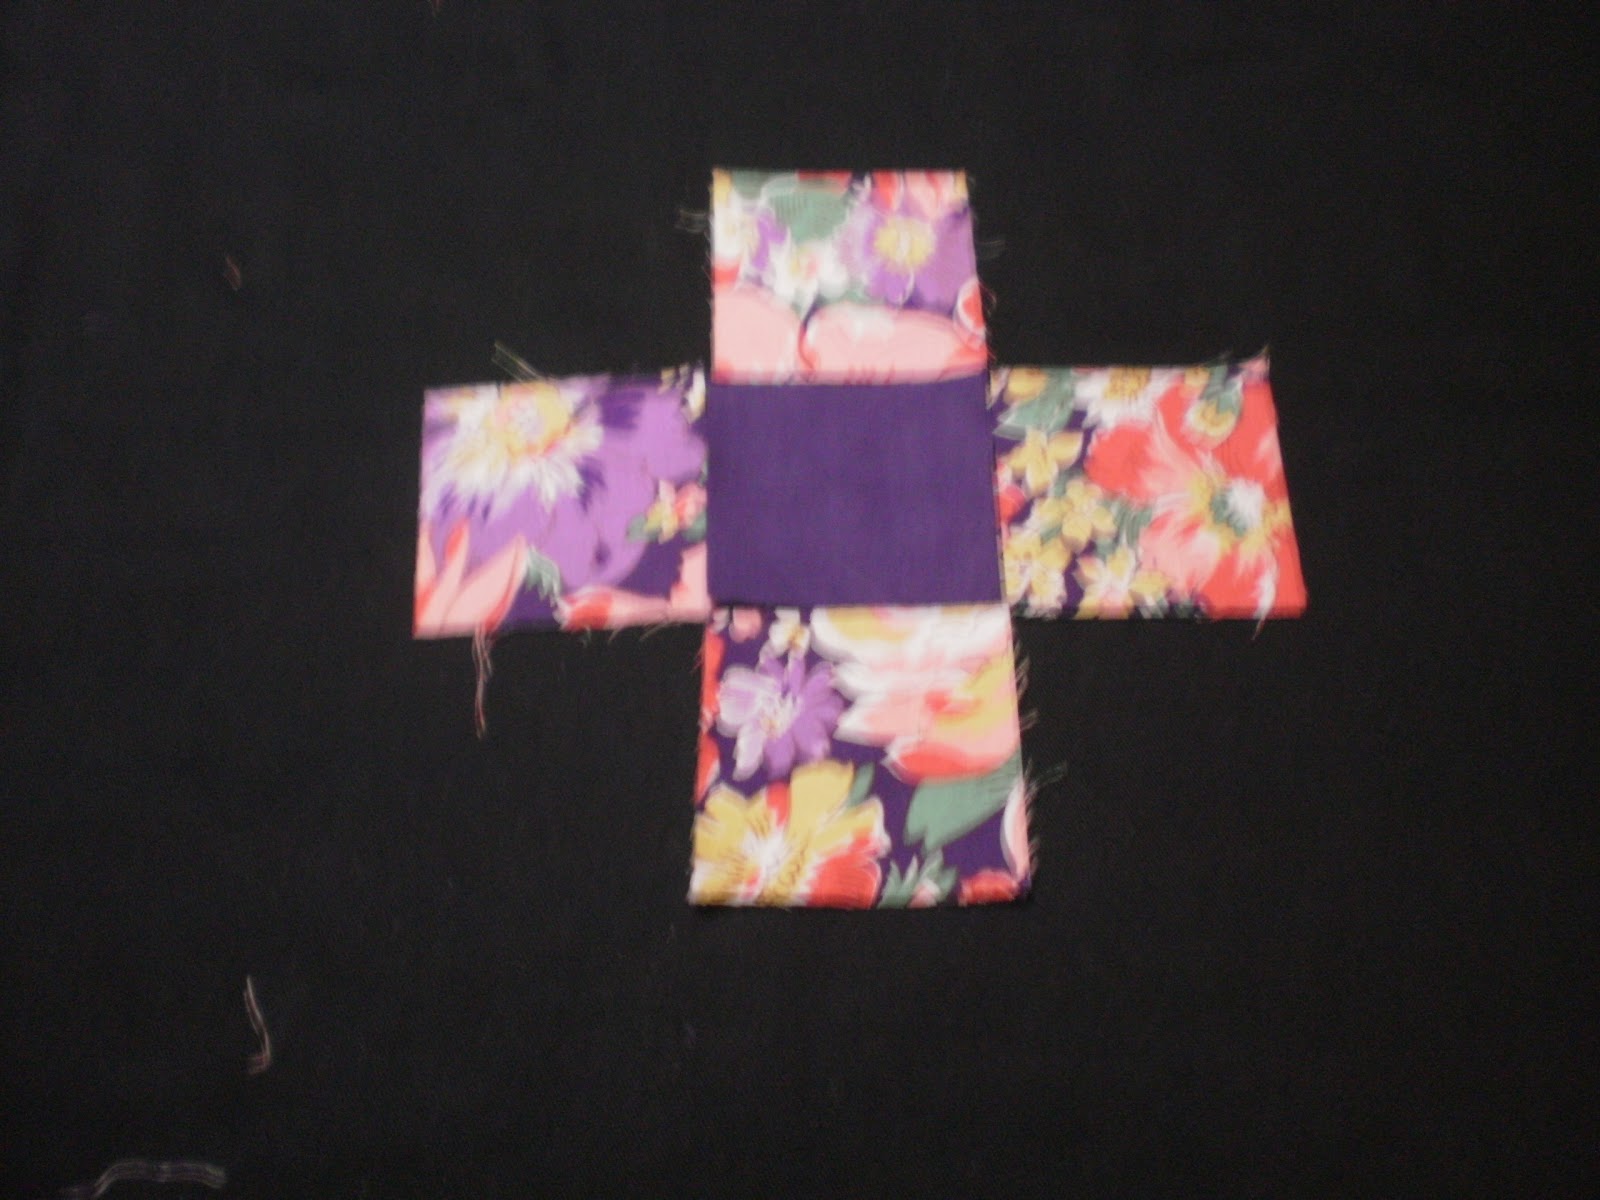
Step 5. Sew the two sets of the blocks together, as per photo, using a ¼ inch seam.
Step 6. Sew the two sets of blocks together. In this step the centre seams need to be matched with seams on top blocks going in one direction and the centre seam on the bottom blocks going in the other direction. Thus avoiding bulk forming and being noticeable in the finished project.
The finished block will measure 12.5 inches x 12.5 inches
www.koalaquiltnsew.com.au