Pages

Tuesday, April 14, 2020

Creating Fabric Postcards....Some Points To Consider.


Here are some points to consider when making your fabric postcards.
1/ You are free to chose the size you wish to work with. It does not necessarily have to be the size of a postcard, it can be smaller or larger.
2/Use stiffening on the back as you do your inital sewing, hand or machine.
3/Once the design is finished trim down to required size and add a final layer of stiffening or fabric. You may consider using iron stiffening or adhere the final backing with Visoflix
4/Encase the edges with a satin stitch


Saturday, April 11, 2020

Embroidery Stitches And Their Uses: Part 2

Tuesday, March 31, 2020

A Handy Tip For Each New Sewing Machine Project

Each time you start a new machine sewing project or after 8 hours of sewing always start with a new machine needle. This way you reduce the chances of the needle becoming blunt and pulling the threads of your fabric. This is especially obvious when sewing lightweight fabric such as chiffon or silk.
To view sewing machine needles click on the following link http://koalaquiltnsew.com.au/shop/schmetz-sewing-machine-needles-universal/


Tuesday, August 27, 2019

Creating Lace Ribbon Flowers

A different way to create a variety of lace flowers. A great way to use up your scraps of your scrap pieces of lace ribbon.
For further craft and patchwork how to videos visit our YouTube channel 'Koala Quilt N Sew'
To view our products available go to our website  www.koalaquiltnsew.com.au

Saturday, February 9, 2019

Embellishing Tote Bags With Fabric Flowers

Spent the afternoon individualizing tote bags.......so easy to create a individual look with a couple of fabric flowers and buttons. To see how to make a fabric flower click on the following links to view our youtube video.
https://www.youtube.com/watch?v=7K-IRp-C1Cc&t=49s
https://www.youtube.com/watch?v=sF3-41eXPyc


Saturday, February 2, 2019

Stack N Slash Quilt Block

If you are looking for a quilt block that will allow you to use up your scrap fabrics and be constructed quickly the do try the Stach N Slash Block. The following youtube outlines how to make the Stack N Slash block.
Click on the following link to view https://www.youtube.com/watch?v=44IqurYlFns

Or if you find you dont have enough fabric for a quilt why not take 3 blocks and create a Tote Bag as illustrated below.


Friday, February 1, 2019

Gorgeous Strawberries

These strawberries only took minutes to create. The beauty of these is that you can create them any size you wish from any fabric you wish and add your choice of embellishments. Each strawberry is a half circle folded in half and sewn down the straight edge. Fill with fibre fill and secure by sewing a running thread around the top, pull tight and secure off. Add embellishments of your choice.

Creating Fabric Pictures or Postcards.

Using a stiffened base fabric l cut out shapes of mountains and sea from scrap fabrics. Using a bonding agent l ironed the pieces into place. Added embellishing free motion machine stitch, trimmed to size and then satin stitched the edges. A great way to use up your scrap fabrics


Tuesday, January 1, 2019

Machine Embellished Quilt Squares

To further embellish scrap squares l like to added some decorative stitches from my sewing machine in a contrasting thread. The third photo is some already embellished squares pieced together, quilt as you go technique has been utilized here to join the blocks together.
A great way to increase the vibrancy of a scrap quilt. An arrayed of decorative stitches and textile threads can be utilized In this project you are only stopped by your imagination.
To view our product range in fabrics and threads click on the following link  
www.koalaquiltnsew.com.au


Saturday, December 8, 2018

How To Create Embellishing Ribbon Flowers


Do hope you enjoy this youtube of creating ribbon flowers. Flowers and leaves great for embellishing presents and craft projects.
To view our website click on the following link
http://www.koalaquiltnsew.com.au

Sunday, September 23, 2018

Tools for Helping You Keep Your Embroidery Threads Untangled.

Its always disappointing and frustrating when each time you start a new embroidery project you first have to untangle a pile of embroidery threads. At Koala Quilt N Sew we have 2 products that will help you solve that problem of embroidery threads tangling. We have a new youtube video out which demonstrate the use of these 2 products.
Plus also view our previous youtube on how to successfully wind your embroidery threads onto the smaller thread bobbins.
Now you have the ideal products that will always ensure that your embroidery threads never knot and tangle again.
www.koalaquiltnsew.com.au
https://www.youtube.com/watch?v=ugUqgUWqWDQ
https://www.youtube.com/watch?v=l0p5IeLt2-Q


Monday, August 20, 2018

What To Do With Those Orphaned Dolies ?


I have often wondered what does one do with all those beautifully hand embroidered doilies. Some people make quilts out of them but l am a bit lost as to where to begin, any suggestions would be appreciated. Its a pity to see these doilies just sit in a drawer and not being appreciated.

Thursday, August 16, 2018

Sampler Quilt; Block 3 Log Cabin

Sampler Quilt; Block 3: Log Cabin

Here is the third block in our series of Sampler Quilt Blocks.
A block with which it can be created as a stand alone block or as seen in the final photo as a full sized quilt.

Instructions
N.B. All seams are ¼” in width.
Step 1: Cut 4 squares 1 ¼”x 1 ¼”


Step 2: Cut strips of fabric, of your 2 chosen colors, 1 ¼" wide.


Step 3: Sew your first piece of strip along aside the square.


After each strip has been sewn into place you will need to iron flat.

Step 4: Sew your second piece of of fabric strip along the next side of the square. This will include going along the top of the first strip of fabric. These 2 strips are of the same color.


Step 5:  Now with the 2nd coloured strips of fabric continue to proceed around the square as per the following photos.


Once you have finished the first round you will need to trim the edges so that each strip measures an exact 1” in width.

Step 6: Commence the second round in the same manner as the first round.

Step 7:Complete the third round in the same manner.

Do remember to trim around the edges once the second round is complete...that the widith of each strip is 1"

Step 8: Complete 3 more squares in the same manner.

Step 9: Sew the 4 completed squares together in the following manner.


Step 9: Sew the 4 completed sqares together in the following manner.
Step 10: Completed Block.


 An example of a quilt design utilizing a log cabin block
www.koalaquiltnsew.com.au

Wednesday, August 8, 2018

Quilt Block Railway Fence; Youtube Clip

A new youtube clip has just been released at Koala Quilt N Sew, Quilt Block Railway Fence Construction.
Just click on the following link to view
 https://www.youtube.com/watch?v=SFw2uNoOJ7s&t=9s
For the pattern shown in the click on the following link
http://craftingblogger.blogspot.com/2018/07/free-pattern-railway-fence.html

www.koalaquiltnsew.com.au


Thursday, August 2, 2018

A True Scrap Quilt: Nine Patch And Snowball Blocks Together

Scrap Quilts
“What Does One Do With All Those Tiny Misfit Scraps Of Fabric?”

The fabric for this quilt was gathered in charm packs from members of a quilt group l attend. This particular year as our birthdays came around we would receive, from other members of the group, 10 squares 5” x 5” of the worst fabric they had in their stash.

Combined with a variety of off cuts of plain blue fabric and tiny scraps l constructed a pile of snowball squares and a pile of nine patch squares.

The next step involved making up rows of alternating nine patch and snowball blocks.

As the rows were sewn together there was always a nine patch block above and below the snowball block.

Thus the number of scrap squares you construct will determine the finished size of this quilt.

A true scrap quilt.

Saturday, July 21, 2018

Traditional Block Taken Further


Following on from our last post whe we looked at the Around The World quilt block here is the block expanded into a quilt. A great winters day project. Just keep following your rounds of squares as commenced in the sampler block. Quiet quickly your block will grow in a quilt.


Tuesday, July 17, 2018

Sampler Quilt: Block 2: Around The World


“Around The World”


This block is constructed of squares 2 1/4inches in size. It is the placement of the different rounds of colour that leads to the name “Around The World”

Step 1: Cut 4 strips, lengthwise across the fabric, 2 1/4inches wide. 4different colours are utilized for this block.


Step2: Cut each strip into 2 1/4inch squares.


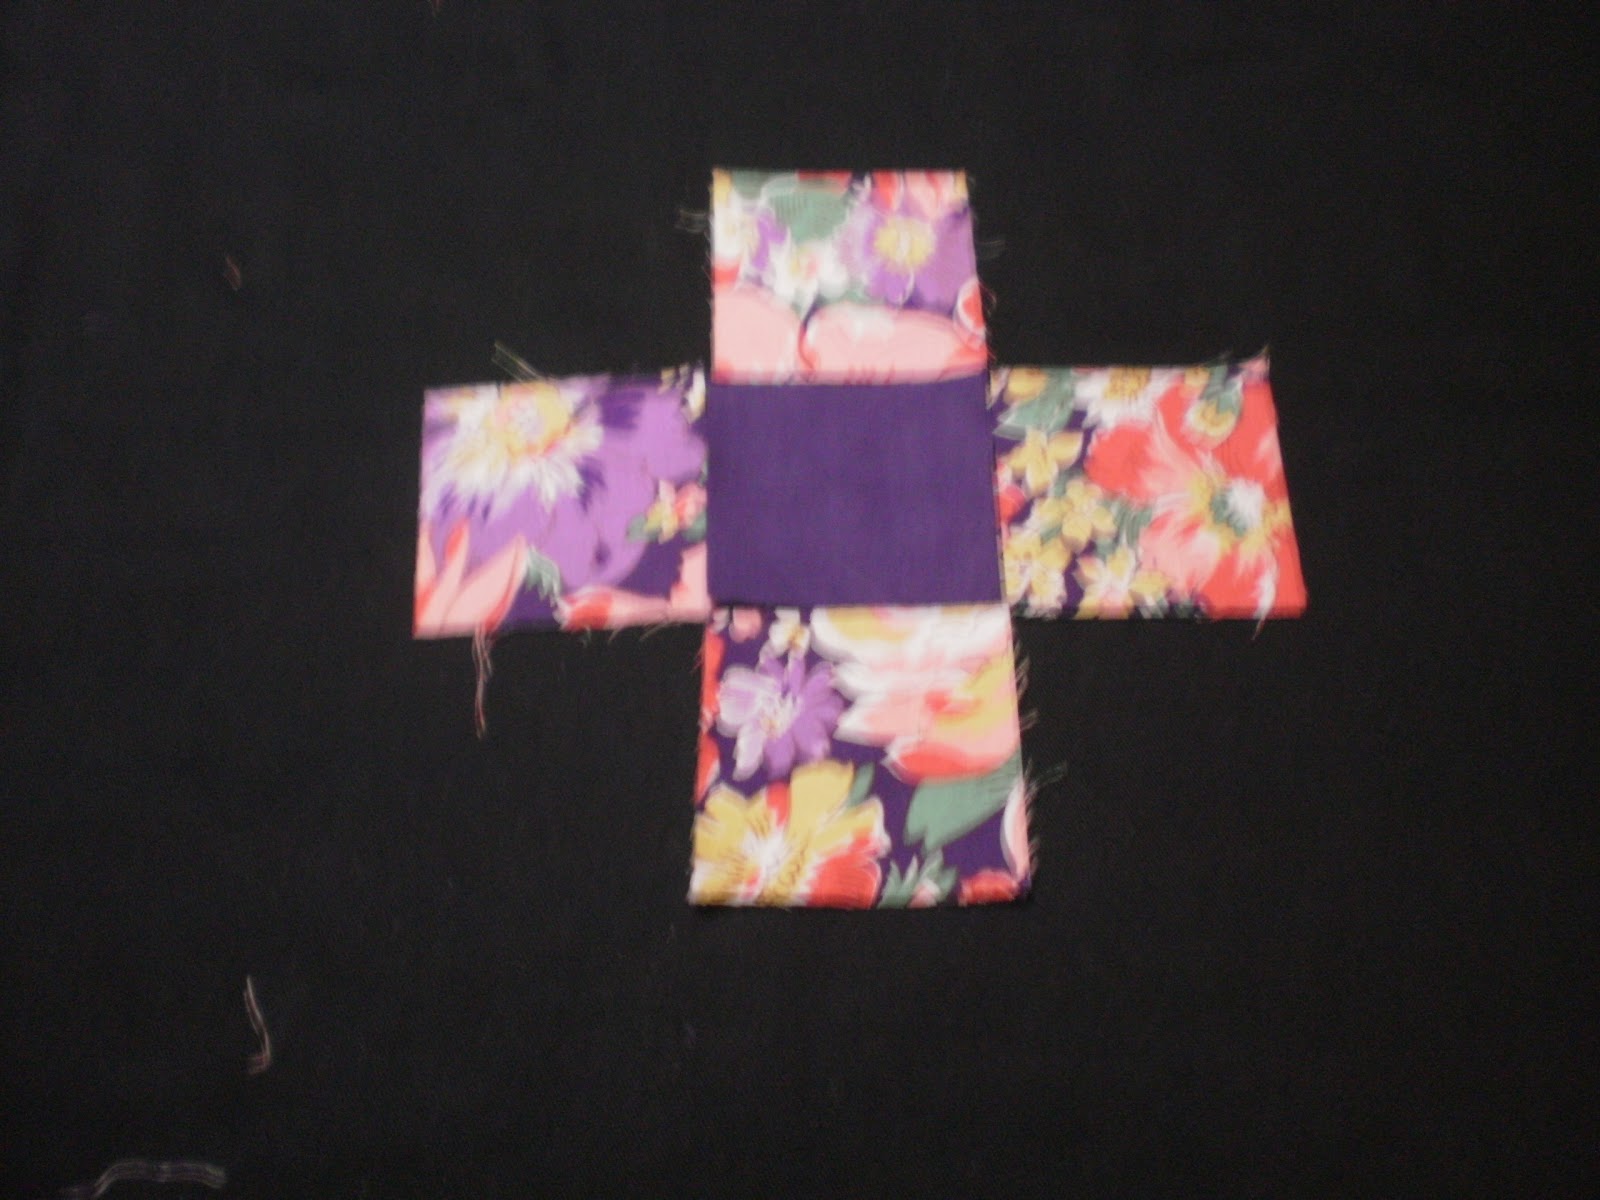
Step 3: Lay down your centre block and 4 blocks around it, as per picture.


Step 4: Continue to lay squares of fabric around the middle square as per the following pictures.


Step5:


Step 6: After the 3rd round the corners need to be filled in...as per the following pictures.


Step 7: Your block laid out will resemble to some degree the following picture.

Step 8: Each row will need to be sewn together, sew each block of the row together with a straight stitch and a 1/4inch seam


:Step 9: Once all blocks have been sewn into rows the rows need to be sewn together utilizing a 1/4inch seam.

Hint: When sewing the seams together always have the seams in the first row going 1 way as in the first photo the seams are going to the right. Then in the next row the seams are going in the opposite direction,to the left. This helps ensure the seams met neatly on the front of your quilt. Also ensures there are no lumpy intersections on the front of your quilt which can distort the final quilting process and you will not have a flat laying quilt.


www.koalaquiltnsew.com.au