
Saturday, January 26, 2013

Sunday, December 9, 2012
Block Of The Month: Log Cabin
Block Of The Month: Log Cabin

Step 1: Cut 4 squares 1 ¼”x 1 ¼”

Step 2: Cut strips of fabric, of your
2 chosen colours, 1 ¼" wide.


Step 3: Sew your first piece of strip
along aside the square


After each strip has been sewn into
place you will need to iron flat.
Step 4: Sew your second piece of of
fabric strip along the next side of the square. This will include going along
the top of the first strip of fabric. These 2 strips are of the same colour.
Step 5: Now with the 2nd coloured strips
of fabric continue to proceed around the square as per the following photos

 Once you have finished the first
round you will need to trim the edges so that each strip measures an exact 1”
in widith


Step 6: Commence the second round in
the same manner as the first round.
Step 7:Complete the third round in the same manner.

Step 8: Complete 3 more squares in the same manner.
Step 9: Sew the 4 completed sqares together in the following manner.


Step 9: Sew the 4 completed sqares
together in the following manner.
Step 10: Completed Block.


Friday, November 16, 2012
Scrap Quilt Pattern

“What Does One Do With All Those Tiny Misfit Scraps Of Fabric?”
The fabric for this quilt was gathered in charm packs from members of a quilt group l attend. This particular year as our birthdays came around we would receive, from other members of the group, 10 squares 5” x 5” of the worst fabric they had in their stash.
Combined with a variety of off cuts of plain blue fabric and tiny scraps l constructed a pile of snowball squares and a pile of nine patch squares.
The next step involved making up rows of alternating nine patch and snowball blocks.
As the rows were sewn together there was always a nine patch block above and below the snowball block.
Thus the number of scrap squares you construct will determine the finished size of this quilt.
A true scrap quilt.
Saturday, May 5, 2012
Block Of The Month: Around The World
Block Of The Month
“Around The World”


This block
is constructed of squares 2 1/4inches in size. It is the placement of the
different rounds of colour that leads to the name “Around The World”
Step 1: Cut
4 strips, lengthwise across the fabric, 2 1/4inches wide. 4different colours
are utilized for this block.

Step2: Cut
each strip into 2 1/4inch squares.

Step 3: Lay
down your centre block and 4 blocks around it, as per picture.
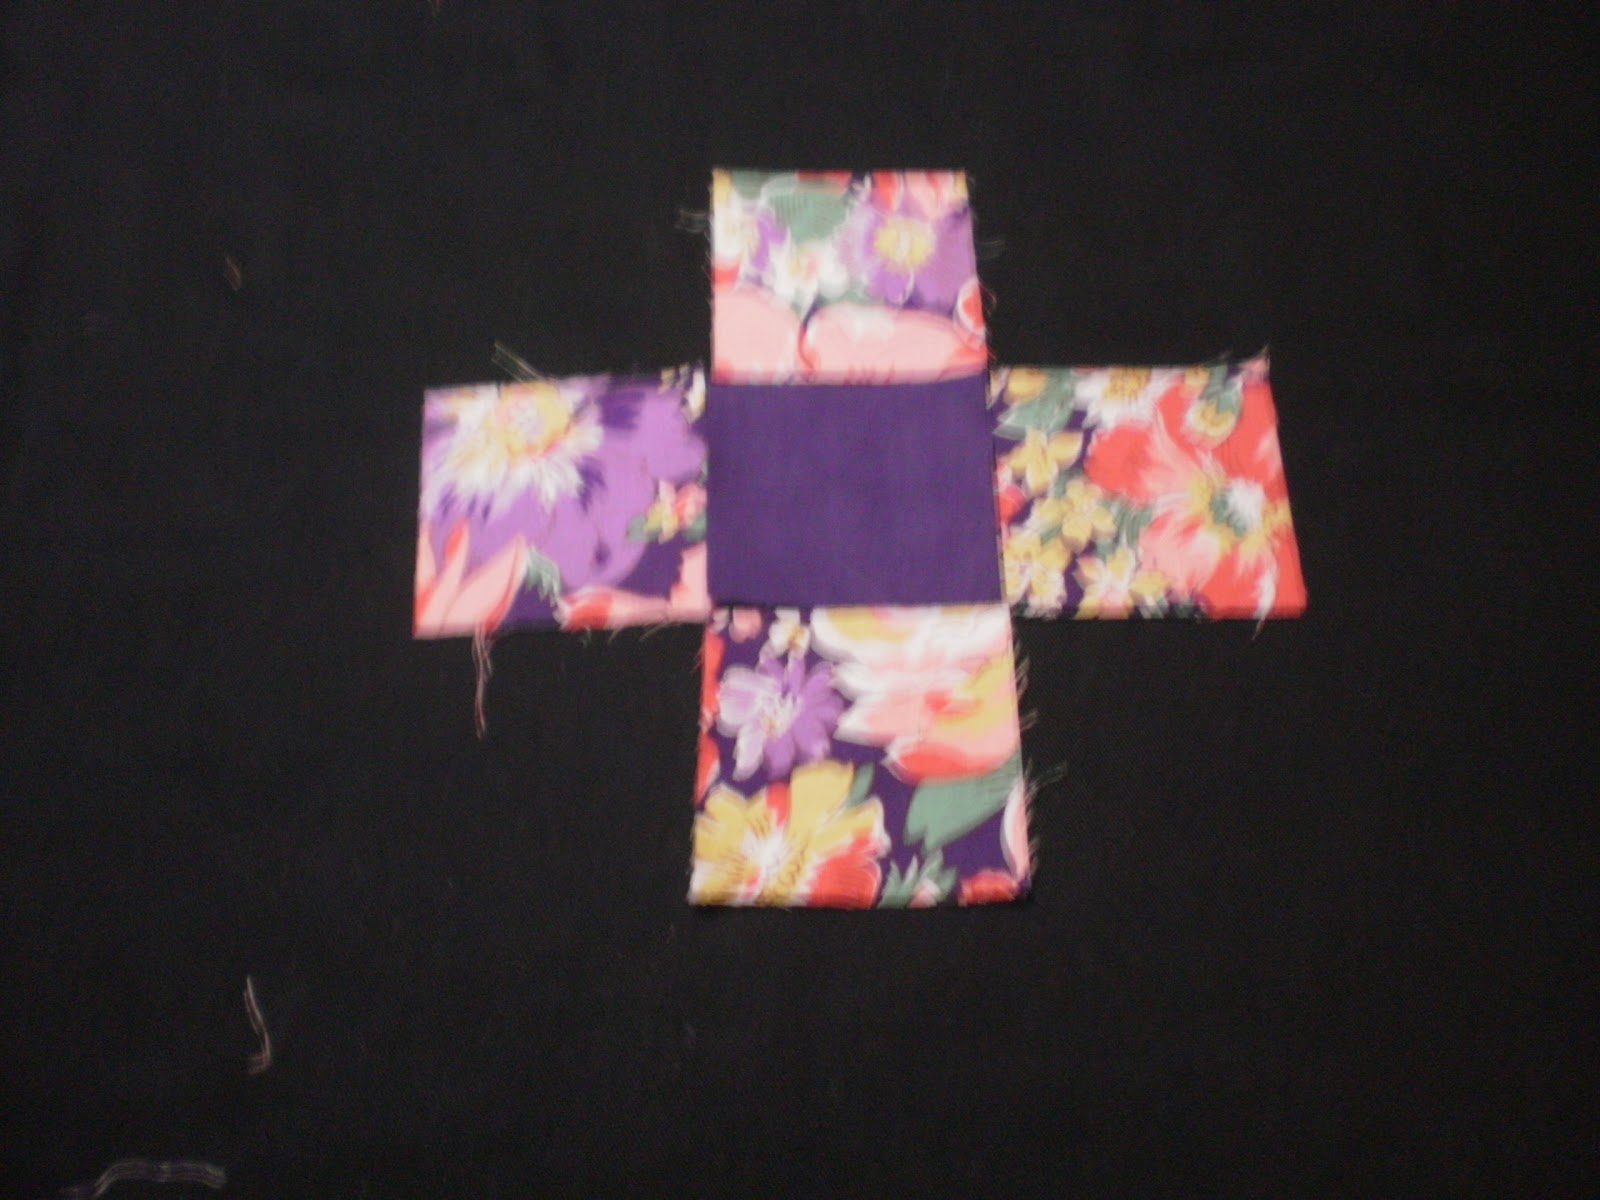
Step 4:
Continue to lay squares of fabric around the middle square as per the following
pictures.

Step5:

Step 6:
After the 3rd round the corners need to be filled in...as per the
following pictures.


Step 7: Your
block laid out will resemble to some degree the following picture.

Step 8: Each
row will need to be sewn together, sew each block of the row together with a
straight stitch and a 1/4inch seam

:Step 9: Once
all blocks have been sewn into rows the rows need to be sewn together utilizing
a 1/4inch seam.


1.
2.
3.
Friday, March 2, 2012
Block Of The Month; Railway Fence; 6inch block
I have had a enquiry from a fellow patchworker who wishes to make smaller blocks for block of the month the fabric cuts for a 6 1/2inch block that will be 6inches when sewn into the sampler are as follows. Cut the 3 strips of fabric required 1 1/2 inches wide and sew together as per instructions. Then cut this new strip into 3 1/2 inch blocks. Sew these blocks together as per instructions
Do let me know how it goes, l shall endevour to work the other blocks as 12 inch blocks and 6 inch blocks.....now you have really set me a challenge.
Do let me know how it goes, l shall endevour to work the other blocks as 12 inch blocks and 6 inch blocks.....now you have really set me a challenge.
Saturday, February 18, 2012
Railway Fence Variations


These three quilts show how you can sew 3 strips of fabric together, cut into 6 1/2 inch blocks and create a variety of different patchwork designs. The 2 peach coloured quilts were made from furnishing fabrics bought at a garage sale and the pink quilt the fabric is a polyester fabric.
Saturday, February 11, 2012
Sampler Quilt
Block 1: Rail Fence.

This is a great block to start the sampler with and your patchwork journey if you are a beginner. The skills you will learn thru this block are the cutting of fabric with a rotary cutter and ruler, sewing ¼ inch seams, matching up a seam and sewing 3 rows of fabric together.
To support the instructions l have included photos. But do remember any question you may want to ask please go to the Craft Gate yahoo group. There you will meet other Block Of The Month participants and l will be visiting regularly http://groups.yahoo.com/group/craftgate/
Don’t forget a vast array of your patchwork and craft equipment needs can be purchased online thru the Craft Gate website; www.craftgate.com.au Craft Gate proudly supports the TV show Suzan Is Craft which is seen on Channel 31 thru out Melbourne, Sydney from 4th March and shortly Adelaide and Brisbane. For write ups re the TV show and guests interviewed do visit the blogs http://suzaniscraft.wordpress.com/ and http://craftingblogger.blogspot.com.au/
Step 1. By now many of you will have gathered your fabric, here are photos of my fabric choices. The floral fabric in the first photo is my main fabric with the next photo showing the support fabrics and the final photo is of my plain background fabric.


Now to cut your strip of fabric turn the cutting board around, so that the trimmed edge is facing your left side. Refer to the following photo. Now place your ruler 2 1/2 inches in from the edge of the fabric. With the fingers of your left hand hold the ruler in place (ENSURE YOUR FINGERS ARE WELL AWAY FROM THE EDGE OF THE RULER) and holding the rotary cutter in your right hand and at a 45 degree angle run the flatter side of the cutting blade along the side of the ruler travelling away from you. This results in the fabric being cut. Always close your blade once finished cutting due to the sharpness of the blade.
Cut another two strips of the same measurement, one each from the other two fabrics.

If you are left handed cut the opposite way around.
Step 3. This step involves sewing the 3 strips of fabric together. As in many patchwork designs the seams for this block are ¼ inch, straight stitch and with cotton thread. When sewing strips together sew down one way and then back up the other way. If all strips are sewn together in the same direction an arch will form thus creating an impossible piece to use. The piece needs to be ironed at this stage, as in many patchwork pieces iron the seams together and in one direction. If you have a strip of light coloured fabric always iron the seams towards the darker coloured fabric.

Step 4. Place the ironed strip on your cutting board and with your ruler trim off one end. Then measure in 6 1/2 inches with your Perspex ruler and cut with the rotary cutter. We need 4 of these blocks.
Step 5. Sew the two sets of the blocks together, as per photo, using a ¼ inch seam.
Step 6. Sew the two sets of blocks together. In this step the centre seams need to be matched with seams on top blocks going in one direction and the centre seam on the bottom blocks going in the other direction. Thus avoiding bulk forming and being noticeable in the finished project.
The finished block will measure 12.5 inches x 12.5 inches

Subscribe to:
Posts (Atom)